本文最后更新于:2024年5月7日 下午
我们常常会想要画一幅图片,或者在某个其他地方得来的图片上画些东西。为了实现这个目标,OpenCV提供了一大批可以供我们画直线、矩形、圆等图形的函数。本文记录相关内容。
简介
- OpenCV的绘图函数可以在任意深度的图像上工作,但在大多数情况下,它们只对图像的前三个通道有影响,如果是单通道图像,则默认只影响第一个通道。大多数绘图函数都支持操作对象的颜色、宽度、线型(与直线平滑度有关)和亚像素对齐等参数。
- 本文基于 《学习 OpenCV3 》中第六章的内容整理 Python OpenCV 绘图函数。
内容列表
| 序号 | 函数 | 描述 |
|---|---|---|
| 1 | cv2.circle() | 画一个简单圆 |
| 2 | cv2.clipLine() | 判断一条直线是否在给定的矩形内 |
| 3 | cv2.ellipse() | 画一个椭圆(可以倾斜,或者只有部分圆弧) |
| 4 | cv2.ellipse2Poly() | 计算一个近似椭圆的多边形 |
| 5 | cv2.fillConvexPoly() | 画一个填充的简单多边形 |
| 6 | cv2.fillPoly() | 画一个填充的任意多边形 |
| 7 | cv2.line() | 画一个简单直线 |
| 8 | cv2.rectangle() | 画一个简单矩形 |
| 9 | cv2.polylines() | 画多重折线 |
| 10 | cv2.putText() | 在图像中绘制指定文字 |
| 11 | cv2.getTextSize() | 获取一个文字的宽度和高度 |
矩阵操作
0. 基础引用
- 之后对上述函数进行示例演示
- 所有代码默认引用如下包
1 | |
- 示例图片
img1.jpg和img2.jpg

- 查看 opencv 某函数
func文档可以运行:
1 | |
-
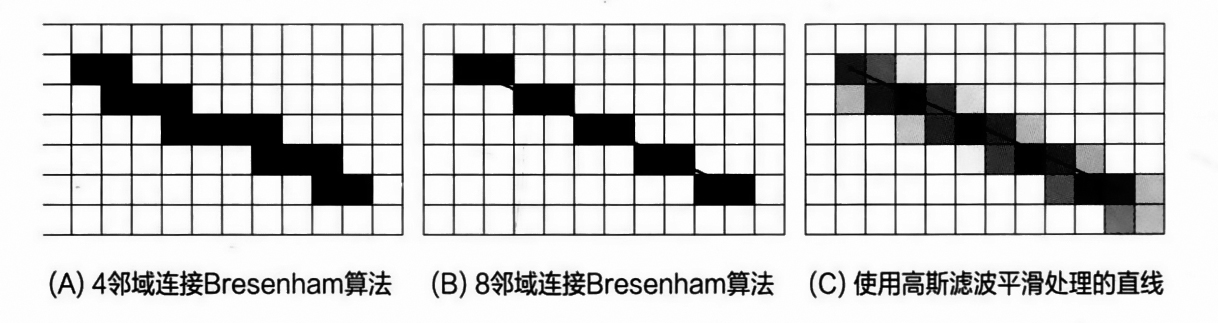
lineType是绘图常用参数之一,表示绘制时线条的绘制方式,
lineType参数可选4,8和cv2.LINE_AA,分别表示直线是“4邻域连接”或者“8邻域连接”或者是平滑处理。
-
thicknessthickness参数是指线宽的像素数。对于圆、矩形和其他封闭图形,thickness参数可以被设置为cv2.FILLED(相当于-1),表示填充整个图形。
1. cv2.circle()
画一个简单圆
- 函数使用
1 | |
- 示例代码
1 | |

2. cv2.clipLine()
判断一条直线是否在给定的矩形内
- 函数使用
1 | |
点都是 $(x, y)$ 的格式,rect 为$ (x, y, w, h)$ 格式
只有当直线完全在指定的矩形范围之外时,函数cv2.clipLine() 才会返回False
1 | |
3. cv2.ellipse()
画一个椭圆(可以倾斜,或者只有部分圆弧)
- 函数使用
1 | |
- 参数说明
| 参数 | 含义 |
|---|---|
| img | 图像 |
| center | 中心坐标 (x, y) |
| axes | 长短轴长度 (长轴长度, 短轴长度) |
| angle | 角度 (角度制) |
| color | 颜色 |
| thickness | 线条粗细程度 |
| lineType | 线型 |
- 示例代码
1 | |

4. cv2.ellipse2Poly()
计算一个近似椭圆的多边形
- 函数使用
1 | |
delta 为间隔角度,'angle, startAngle, endAngle, delta’均为角度制
- 示例代码
1 | |
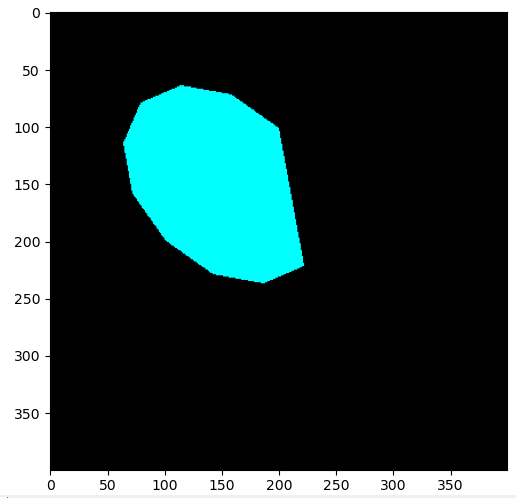
5. cv2.fillConvexPoly()
画一个填充的简单多边形
- 函数用法
1 | |
这个函数用来绘制一个填充的多边形。这个函数比 cv2.fi11Po1y() 速度快很多,因为它使用了更简单的算法。需要注意的是cv2.fillConvexPoly() 使用的算法在多边形有自交点时不能正确工作。
pts 中的点将被按顺序用直线段连接起来,第一个点和最后一个点之间也会连接起来(也就是说多边形被认为是封闭的)
- 示例代码
1 | |
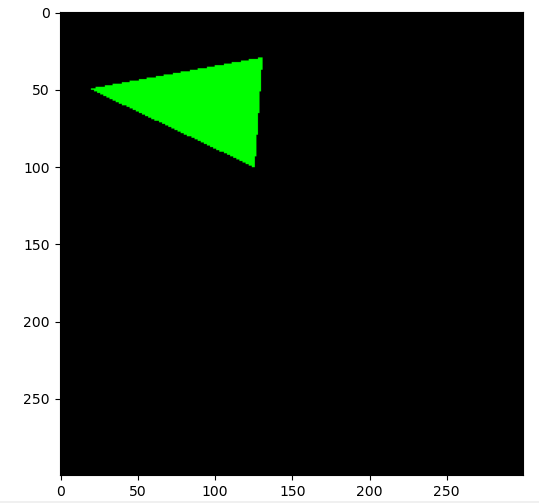
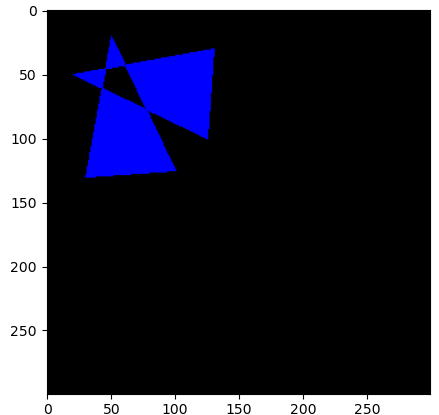
6. cv2.fillPoly()
画一个填充的任意多边形
- 函数使用
1 | |
- 示例代码
1 | |
7. cv2.line()
画一个简单直线
- 函数使用
1 | |
- 示例代码
1 | |

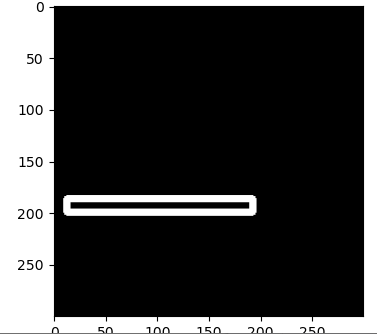
8. cv2.rectangle()
画一个简单矩形
- 函数使用
1 | |
- 示例代码
1 | |
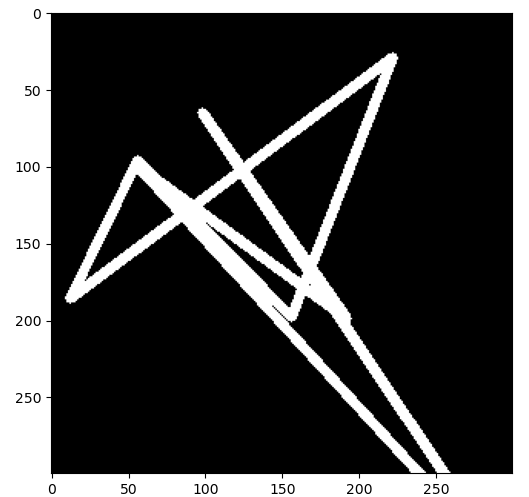
9. cv2.polylines()
画多重折线
- 函数使用
1 | |
- 示例代码
1 | |
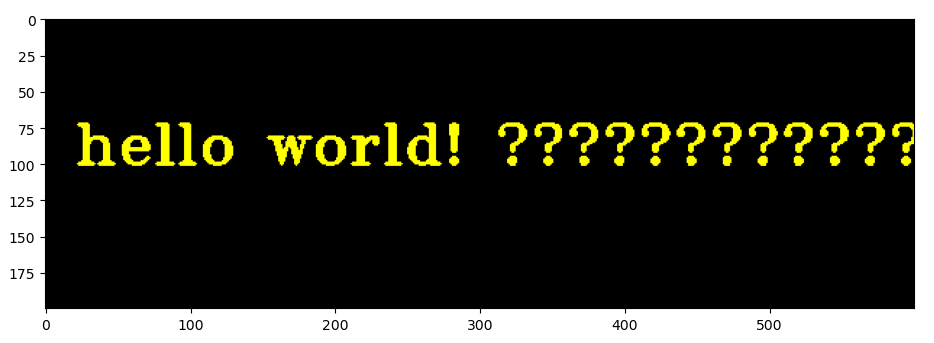
10. cv2.putText()
在图像中绘制指定文字
- 函数使用
1 | |
- 参数说明
| 参数 | 说明 |
|---|---|
| canvas | 画布 |
| text | 文字字符,无法正确绘制中文 |
| origin | 文字左上角坐标 |
| fontFace | 字体 |
| fontScale | 文字尺寸 |
| color | 文字颜色 |
| bottomLeftOrigin | 偏移从左下角计算 |
- fontFace
| 标识符 | 描述 |
|---|---|
| cv2.FONT_HERSHEY_SIMPLEX | 普通大小无衬线字体 |
| cv2.FONT_HERSHEY_PLAIN | 小号无衬线字体 |
| cv2.FONT_HERSHEY_DUPLEX | 普通大小无衬线字体,比cv2.FONT_HERSHEY_SIMPLEX更复杂 |
| cv2.FONT_HERSHEY_COMPLEX | 普通大小无衬线字体;比cv2.FONT_HERSHEY_DUPLEX更复杂 |
| cv2.FONT_HERSHEY_TRIPLEX | 普通大小无衬线字体;比cv2.FONT_HERSHEY_COMPLEX更复杂 |
| cv2.FONT_HERSHEY_COMPLEX_SMALL | 小号版本的cv2.FONT_HERSHEY_COMPLEX |
| cv2.FONT_HERSHEY_SCRIPT_SIMPLEX | 手写体 |
| cv2.FONT_HERSHEY_SCRIPT_COMPLEX | 比cv2.FONT_HERSHEY SCRIPT SIMPLEX更复杂的变体 |
- 示例代码
1 | |
11. cv2.getTextSize()
获取一个文字的宽度和高度
- 函数使用
1 | |
cv2.getTextSize() 函数回答了如果把文字绘制出来将有多大的问题(使用一组参数而不用实际将文字绘制到图上)。
- 示例代码
1 | |
示例源码
参考资料
- 《学习 OpenCV3》 第五章
文章链接:
https://www.zywvvd.com/notes/study/image-processing/opencv/opencv-drawing/opencv-drawing/
“觉得不错的话,给点打赏吧 ୧(๑•̀⌄•́๑)૭”

微信支付

支付宝支付