本文最后更新于:2024年5月11日 下午
经过各种图床折腾之后,发现可以在自己的服务器中直接建立 nginx 站点作为专门的图床使用,本文记录相关内容。
背景
- 在折腾 chevereto 自建图床的过程中,发现核心功能可以剥离出来直接用 nginx 维护实现
宝塔方法
宝塔
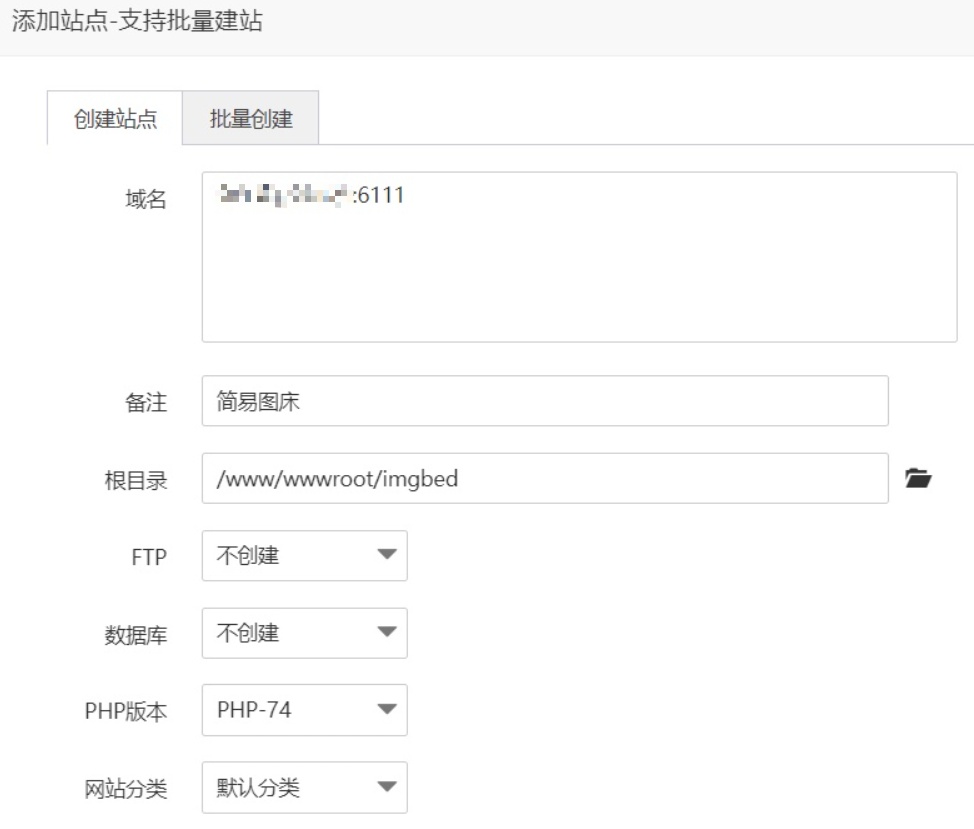
- 在宝塔面板配置需要安装宝塔面板,并配置 Nginx 环境
- 建立站点
Nginx 服务器
1
2
3
4
5
6
7
8
9
10
11
12
13
14
15
16
17
18
19
20
21
22
23
24
25
26
27
28
29
30
31
32
33
34
35
36
37
38
| worker_processes auto;
pid /run/nginx.pid;
events {
worker_connections 768;
# multi_accept on;
}
http {
sendfile on;
tcp_nopush on;
tcp_nodelay on;
keepalive_timeout 65;
types_hash_max_size 2048;
include /etc/nginx/mime.types;
default_type application/octet-stream;
ssl_protocols TLSv1 TLSv1.1 TLSv1.2; # Dropping SSLv3, ref: POODLE
ssl_prefer_server_ciphers on;
access_log /var/log/nginx/access.log;
error_log /var/log/nginx/error.log;
gzip on;
gzip_disable "msie6";
server{
listen 80;
server_name localhost;
location /{
root /;
# autoindex on;
}
}
include /etc/nginx/conf.d
|
读取图床数据
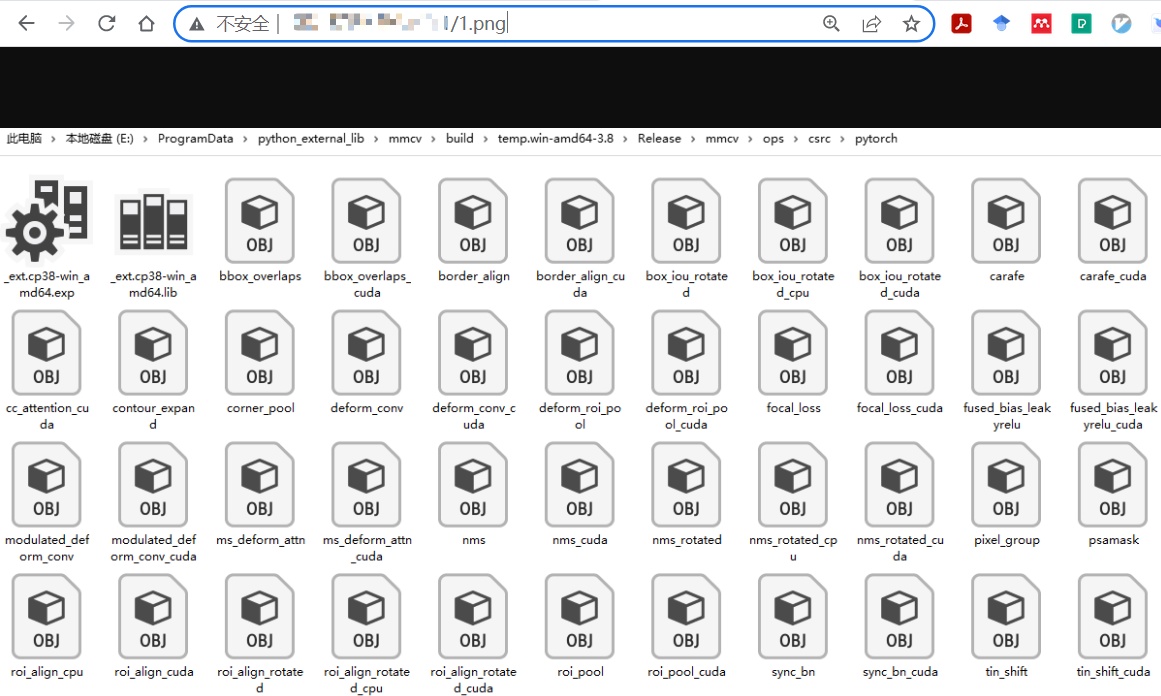
- 在网站根目录存放的数据已经可以直接访问了,链接规则

- 直接访问
web-url / 1.png即可直接看到图像内容
Nginx Docker 方式
准备 Nginx 容器
安装好 Docker 后执行命令
1
2
3
4
5
6
| docker container run \
-d \
-p 127.0.0.2:8080:80 \
--rm \
--name mynginx \
nginx
|
创建 nginx 初始容器
1
| docker container cp nginx:/etc/nginx .
|
为了容器可以方便、安全地维护,将容器中 /etc/nginx 内容拷贝到宿主机,我放到了 /share/nginx_conf 文件夹
关闭容器(由于 --rm 会自动删除)
重新创建容器:
1
| docker run --name=nginx -p 33030-33060:33030-33060 -p 8080:80 -d --restart=always -v /share/ssl:/ssl -v /share/html:/usr/share/nginx/html -v /share/nginx_conf:/etc/nginx nginx
|
- -p: 端口映射,建议多映射几个端口,后期添加很麻烦
- -d: 后台运行
- -v: 磁盘映射
此时在 /share/html 中创建 index.html 文件,写入内容:
访问本机IP 的 8080 端口,可以看到 Hello World 字样
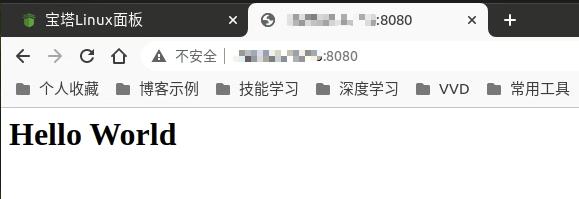
说明目前为止一切顺利,Nginx 正常运行
那么此时理论上就可以当成图床用了,将一张图像放到 /share/html/ImageHost 下,起名字 test.jpg
访问地址:
1
| IP:8080/ImageHost/test.jpg
|
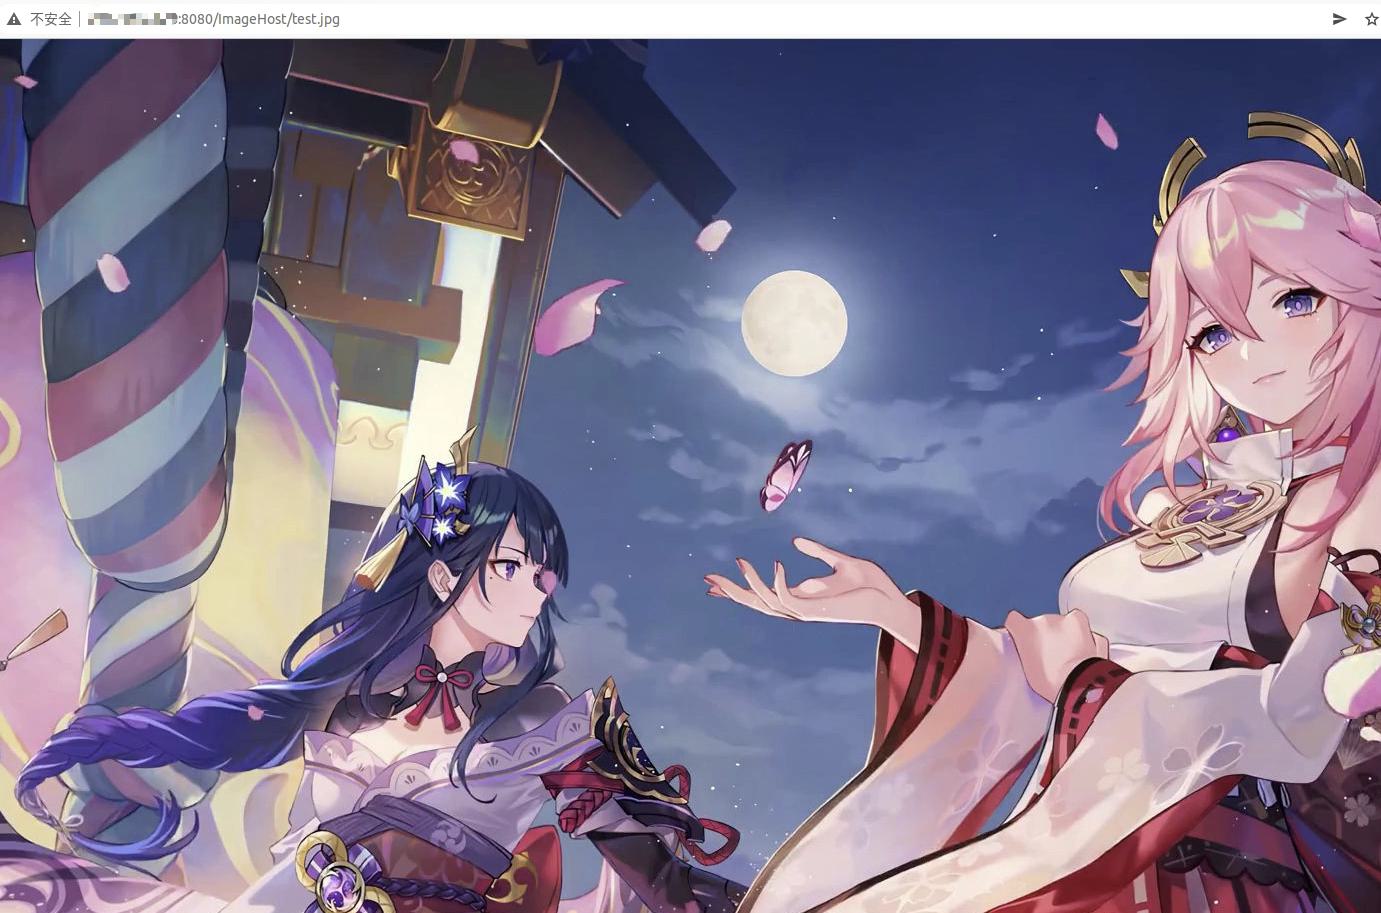
理论上的图床就搭好了,这里依赖的是 Nginx 容器中默认的服务器配置 /etc/nginx/conf.d/default.conf 文件,也就是我们当前宿主机中 /share/nginx_conf/conf.d 文件:
1
2
3
4
5
6
7
8
9
10
11
12
13
14
15
16
17
18
19
20
21
22
23
24
25
26
27
28
29
30
31
32
33
34
35
36
37
38
39
40
41
42
43
44
45
| server {
listen 80;
listen [::]:80;
server_name localhost;
location / {
root /usr/share/nginx/html;
index index.html index.htm;
}
error_page 500 502 503 504 /50x.html;
location = /50x.html {
root /usr/share/nginx/html;
}
}
|
当前仅能通过访问 nginx 容器的 80 端口通过 http 协议获取图像,如果需要 https 访问需要准备证书,放到 /share/ssl 文件夹中:
1
2
| /share/ssl$ ls
uipv4.zywvvd.com.crt uipv4.zywvvd.com.key
|
并在 /share/nginx_conf/conf.d 文件夹下添加配置文件 iamgehost_ssl.conf:
1
2
3
4
5
6
7
8
9
10
11
12
13
14
15
16
| server {
listen 33030 ssl;
listen [::]:33030 ssl;
ssl_certificate /ssl/uipv4.zywvvd.com.crt;
ssl_certificate_key /ssl/uipv4.zywvvd.com.key;
location / {
proxy_set_header X-FORWARDED-FOR $remote_addr;
proxy_set_header X-FORWARDED-PROTO $scheme;
proxy_set_header Host $http_host;
proxy_pass http://0.0.0.0:80;
}
}
|
配置好后重启 ngxin 容器,访问 https://uipv4.zywvvd.com:33030/test.jpg

https 图床配置完成!
抛弃了宝塔面板,更加自主可控。
参考资料
文章链接:
https://www.zywvvd.com/notes/hexo/website/33-nginx-imgbed/nginx-imgbed/

